
Introduction
The RCS Panel is the self-service home for RCS Business Messaging on Splashify. This manual walks every screen in it, in the order you will meet them.
RCS (Rich Communication Services) is the messaging standard built into Google Messages on Android. To a customer it looks like a chat with your brand: your verified name and logo at the top, and messages that can carry images, carousels, tappable buttons and quick replies rather than 160 characters of plain text. Delivery, read and click receipts come back on every message.
The panel at rcs.splashifypro.com is where you run all of that, apply for a verified sender, design messages, upload your audience, send, and watch the results land.
This manual, and the API reference
Two documents live on this site. The user manual (you are in it) describes the panel screen by screen and assumes no coding. The API reference documents the same capabilities as REST endpoints for the people wiring Splashify into their own systems. Neither is a subset of the other, the panel does a few things the API does not yet expose, and vice versa.
Who the panel is for
The panel is a standalone product for RCS-only customers. If you signed up
at rcs.splashifypro.com, this is your surface, and this manual describes
everything you have access to.
It is deliberately separate from Splashify's other panels. If you use any of those as well, they live in different apps with their own logins, their own wallets and their own docs. Nothing you do here affects them.
The moving parts
Six concepts carry the whole product. Everything in this manual is one of these or something acting on one of these.
- Account
One company, identified by the email that signed up. That email is the owner. An account holds the wallet, the billing profile, the opt-out list, and every bot below.
- Bot
A verified RCS sender, the brand identity a recipient sees. Each bot has its own approval (KYC), its own carrier-side identity, and its own send-rate budget. One account can run several; they all share the account's wallet. Applying for one is the first thing you will do.
- Template
A message blueprint, attached to a specific bot. Plain text, a rich card, or a carousel of cards. Templates are reviewed before they can be sent, and can contain
{{1}}-style variables filled in per recipient.- Contact list
An audience, a named list of phone numbers, typed in or imported from CSV. You can probe a list to find out which of its numbers can actually receive RCS before you spend anything on it.
- Broadcast
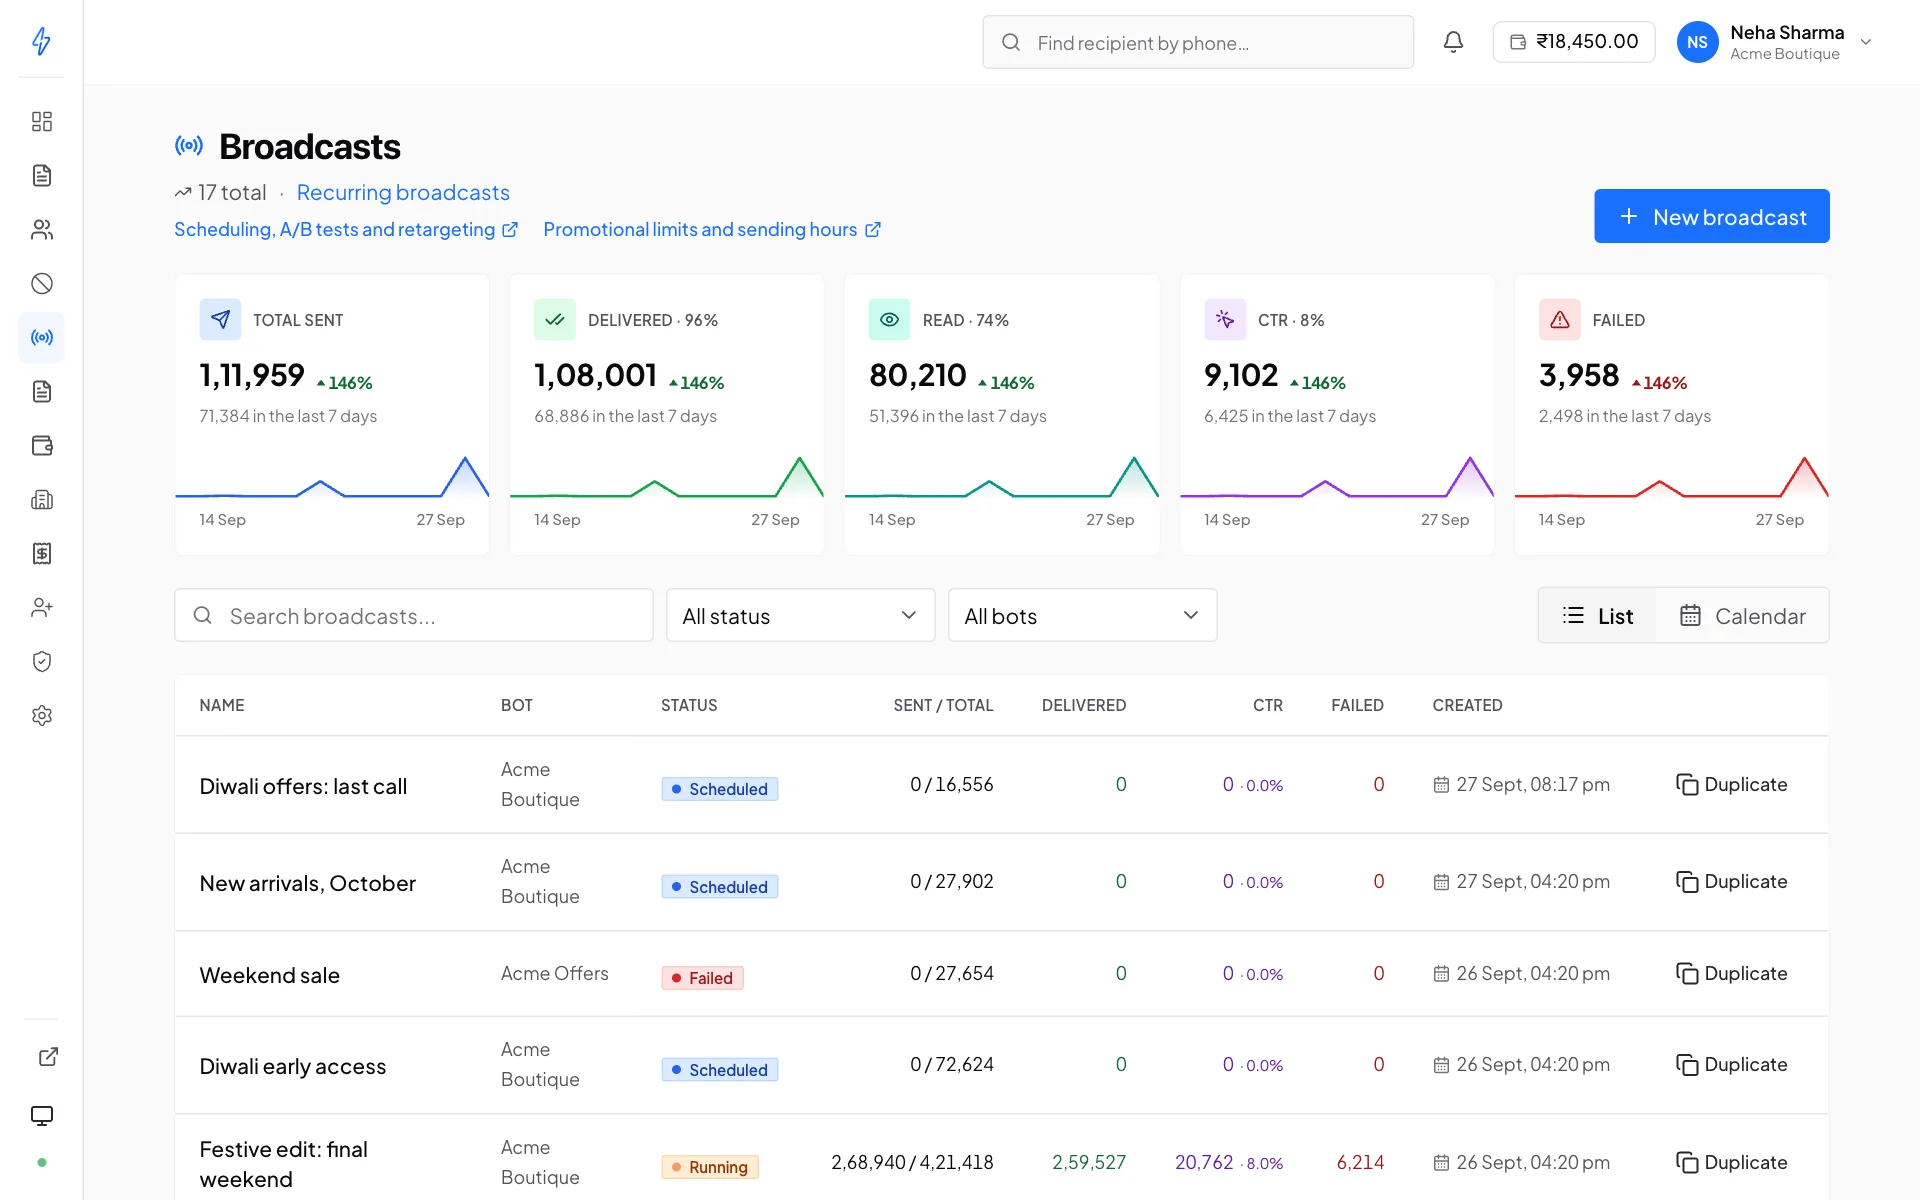
One template sent to one contact list, now or on a schedule. This is where the money is spent and where the delivery numbers come from.
- Wallet
Your balance. Every message delivered debits it at your per-message price. Some accounts are set to postpaid instead and are invoiced in arrears, the panel shows whichever applies to you.
The path from signup to first send
The first week has a fixed shape, and one step in it is not instant: getting a bot approved involves a real review by carriers, so plan around it rather than being surprised by it.
Create your account
Sign up, verify the OTP sent to your email, and sign in. A few minutes. Getting started →
Apply for a bot
Fill the KYC form with your company details, brand assets and supporting documents. Around 20 minutes, if you have the documents to hand. Apply for a bot →
Wait for approval
Splashify reviews the application, then the carrier launches the agent. Typically 3–7 working days. You can build templates and upload contact lists while you wait. You just cannot send.
Top up the wallet
Add your billing profile (the legal entity invoices are raised to), then recharge. Both are owner-only. Wallet and billing →
Build a template and get it approved
Compose in the panel, submit, and wait for the review verdict, usually seconds, occasionally a human check. Templates →
Upload an audience and send
Import a CSV, optionally check which numbers are RCS-reachable, then create the broadcast. Broadcasts →
Do steps 2 and 6 out of order
Approval is the long pole, so submit the bot application on day one and do everything else while it is in review. Templates can be created and approved against a bot that is still pending, only sending requires an active bot.
What you can do without an approved bot
A fresh account is not a locked one. Before approval you can already:
- Build and submit templates for review
- Create contact lists, import CSVs, and manage the opt-out list
- Invite team members and scope their access
- Set up your billing profile and recharge the wallet
- Create API keys and configure webhooks
The single thing gated on an active bot is sending, one-off sends, broadcasts and test sends all return an error until a bot is live.
How to read this manual
The left-hand navigation is in learning order, and each page ends with a link to the next one. If you are new, read straight through Start here and Set up your sender, then dip into the rest as you need it.
Every page assumes you are signed in as the owner unless it says otherwise. Where a screen behaves differently for an operator or a viewer, that is called out, see Team members for what each role can do.