
Getting started
Creating the account takes a few minutes. This page covers sign-up, the OTP step, signing in, and what you will see the first time you land.
Create your account
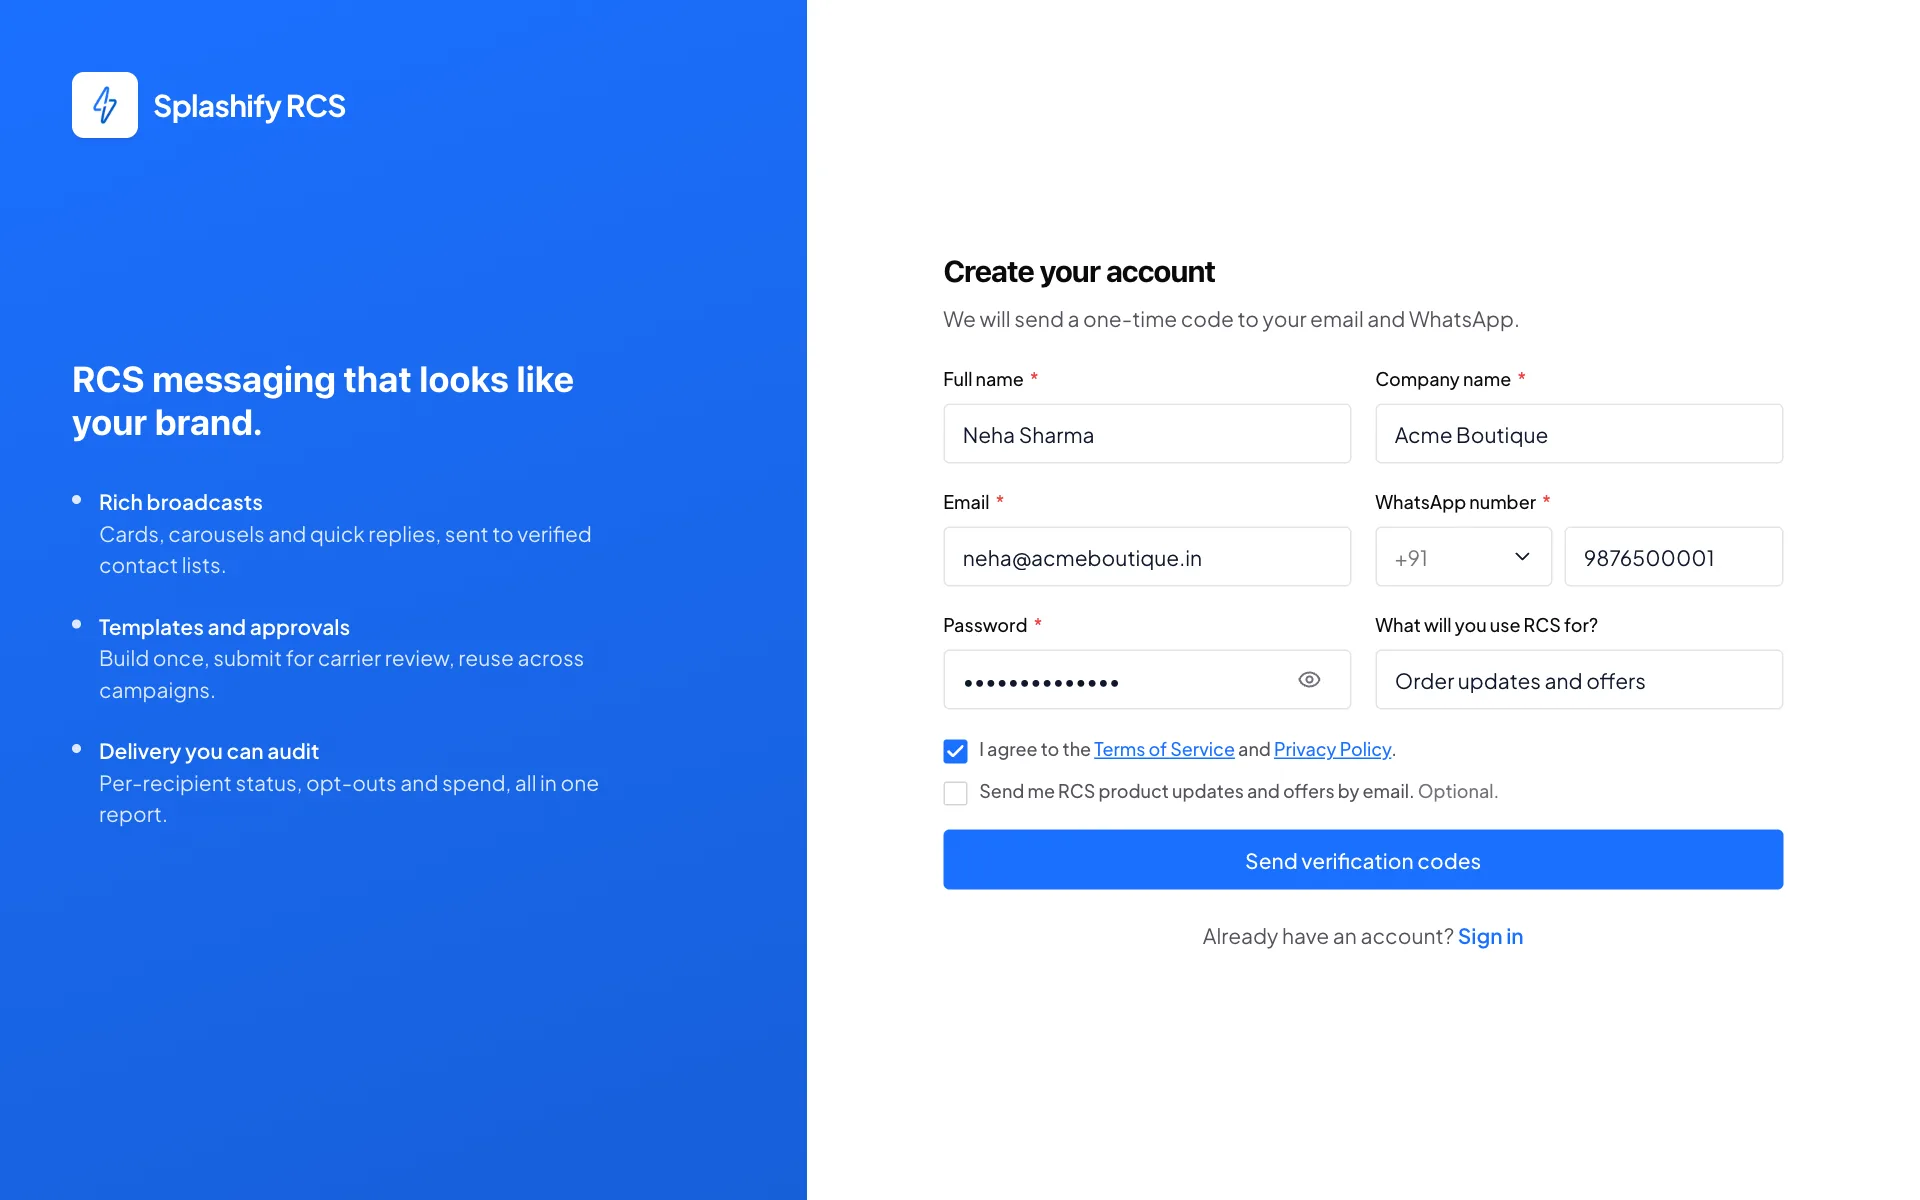
Go to rcs.splashifypro.com and choose Sign up. You will be asked for:
Tick the box to accept the Terms of Service and Privacy Policy, then press Send verification codes. The box for product updates by email is optional.
Choose the owner email carefully
The owner email is the only address that can manage billing, invite team members and apply for
new bots. It cannot be changed from inside the panel, moving ownership means contacting support.
A role address like [email protected] outlives any individual employee; a personal one does
not.
On the sign-in screen you can also choose Continue with Google. That creates the same kind of account and skips the password and OTP steps, the Google account's email becomes the owner email.
Verify the OTP
After sign-up, two six-digit codes are sent: one to the email you entered and one to your WhatsApp number. Enter both on the Verify your codes screen.
Check your email and WhatsApp
The codes arrive within a minute. If the email has not come, check spam, the sender is a Splashify Pro address, and a first-time sender is sometimes filtered.
Enter both codes
Type the Email OTP and the WhatsApp OTP. Each field advances as you type, and you can paste a whole code at once. Verify and continue works once both have six digits.
Resend if they expire
Codes are short-lived. Resend codes sends a fresh pair and invalidates the previous ones, so an old code will no longer work even if it arrives later. You can resend once a minute.
Once verified you are signed in and land on the dashboard.
Signing in afterwards
Sign in with your email and password at rcs.splashifypro.com.
If you belong to more than one account
An email can own one company's account and be a team member on another. When that happens, signing in shows a Choose account screen listing every account the email has access to, with your role in each. Pick one and you are in.
To switch, sign out and sign in again, the picker reappears. Your role and which bots you can see are decided by the account you pick, not by the email.
If you have two-step verification on
You will be asked for a code from your authenticator app after the password. See Security for setting this up, and for what to do if you lose the authenticator.
Forgotten password
Choose Forgot password on the sign-in screen and enter your email. A reset link is sent to that address; it expires, so use it promptly. Setting a new password signs out other sessions.
Team members reset their own passwords
Every member signs in with their own email and password, so a member resetting theirs does not affect anyone else. The account owner cannot see or set a member's password.
Finding your way around
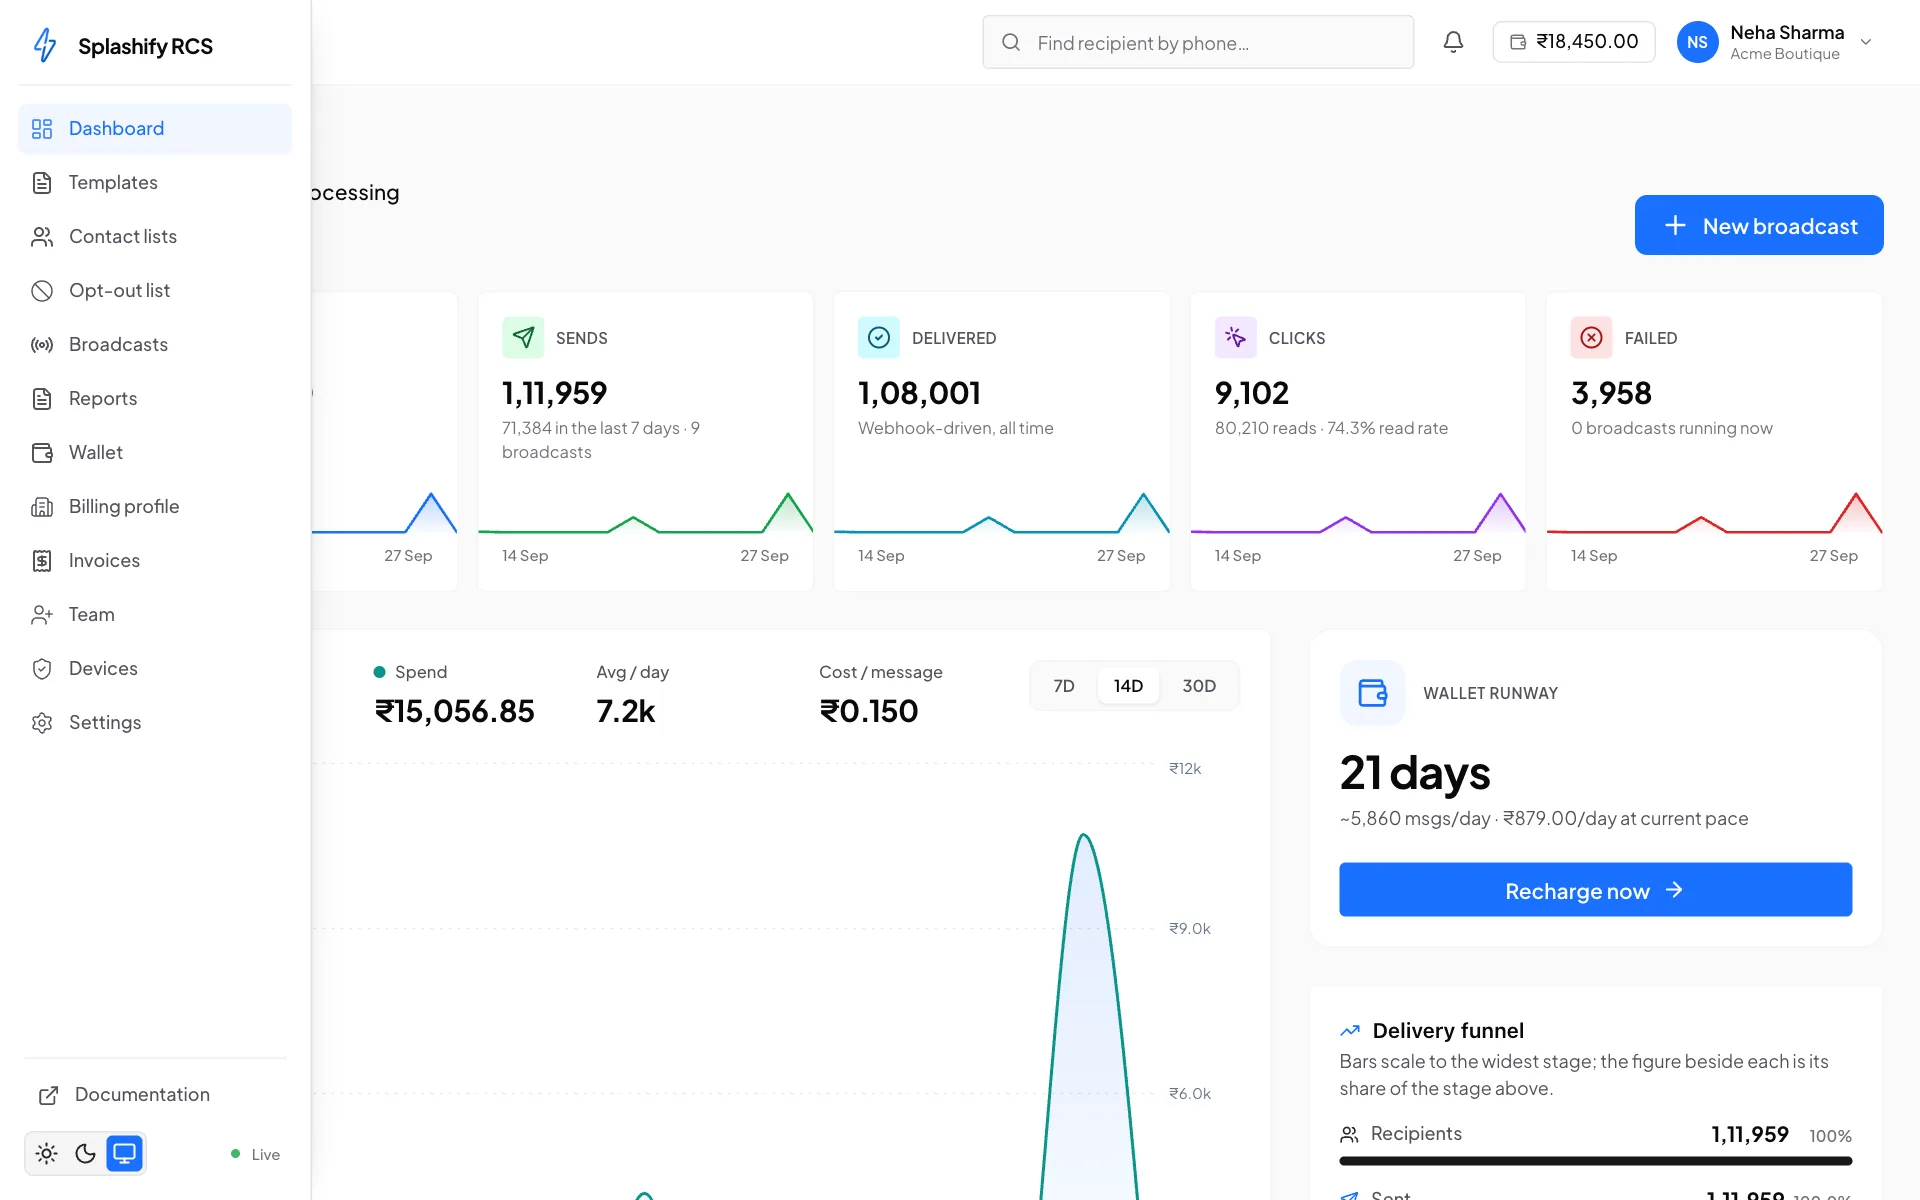
The panel has one left-hand navigation rail. It expands when you hover it on desktop; on a phone, the menu button opens it.
At the bottom of the rail is a small coloured dot. Green means the panel has a live connection and broadcast counters are updating in real time; amber means it is reconnecting; grey means updates are paused, usually because the device is offline. Nothing is lost when it is grey, the numbers catch up when the connection returns.
Some entries only appear for the owner
Wallet, Billing profile, Invoices and Team are owner-only and are hidden entirely for operators and viewers. If a colleague says a menu item is missing, that is why, see Team members.
The onboarding wizard
The first time you open the dashboard on a fresh account, a short overlay walks you through what to do first. It is skippable at any step, and Don't show again sticks across sign-ins.
What next
The one thing worth starting immediately is the bot application, because approval takes days rather than minutes.
The dashboard's Set up your account card lists the six steps from applying for a bot to sending your first broadcast, and ticks each one off as you do it. See Set up your account.